1. Piece the top. This can be done in many different styles, may be from improv or traditional pattern. An easy way to make a quilt might be strip piecing: simply sew together long strips of fabric in rows until your quilt is long enough.
2. Make the backing. If you intend to make a small quilt, I think you should use a single piece of fabric, rather than sewing together two long strips.
3. Cut the batting to size. The batting , also knew as wadding or insulating material - should be a few inches wider on every side than the top. For ease , lay out the batting underneath the top.
4. Make a quilt sandwich in this order: backing on the bottom, batting in the middle, quilt top on the top (naturally).
• First, let's lay down your backing on the floor, and use painter's tape on the corners in order to keep it in steadily and wrinkle-free on the floor. It’s good if your backing is bigger than your top
• Second, lay down your batting (which should be a little bigger than your quilt top, remember) over the backing, and smooth it out with your hands.
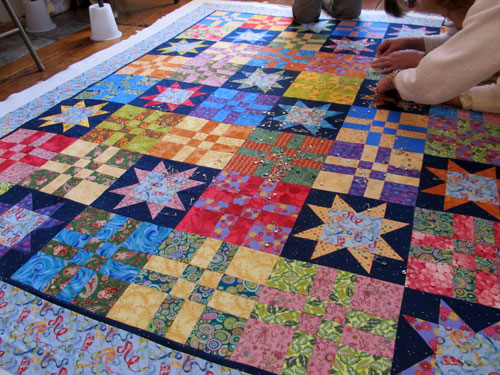
• Third,let's lay your top piece right side up, lining it up with the backing underneath the oversized batting. Spread it smooth, and then start pinning the quilt from the center out, applying pins about 4 inches apart (the holes the pins make will disappear with quilting and washing).
5. Quilt it. This can be as basic as tying the quilt, or anything from a simple or complicated machine-quilting design, or hand-quilting.
6. Bind it. Use bias binding to finish the edges of your quilt .
Finally, you should choose your best sewing machine for quilting so that you can make your quilting projects looked more professional.
2. Make the backing. If you intend to make a small quilt, I think you should use a single piece of fabric, rather than sewing together two long strips.
3. Cut the batting to size. The batting , also knew as wadding or insulating material - should be a few inches wider on every side than the top. For ease , lay out the batting underneath the top.
4. Make a quilt sandwich in this order: backing on the bottom, batting in the middle, quilt top on the top (naturally).
• First, let's lay down your backing on the floor, and use painter's tape on the corners in order to keep it in steadily and wrinkle-free on the floor. It’s good if your backing is bigger than your top
• Second, lay down your batting (which should be a little bigger than your quilt top, remember) over the backing, and smooth it out with your hands.
• Third,let's lay your top piece right side up, lining it up with the backing underneath the oversized batting. Spread it smooth, and then start pinning the quilt from the center out, applying pins about 4 inches apart (the holes the pins make will disappear with quilting and washing).
5. Quilt it. This can be as basic as tying the quilt, or anything from a simple or complicated machine-quilting design, or hand-quilting.
6. Bind it. Use bias binding to finish the edges of your quilt .
Finally, you should choose your best sewing machine for quilting so that you can make your quilting projects looked more professional.
 RSS Feed
